CNC
I like to make things and what better than to have your very own CNC router machine to do so.
I started making my own CNC router but found I could get a complete unit out of China for less than it would cost for all the bits once you factor in improvements and design errors. Here's what I ended up getting:
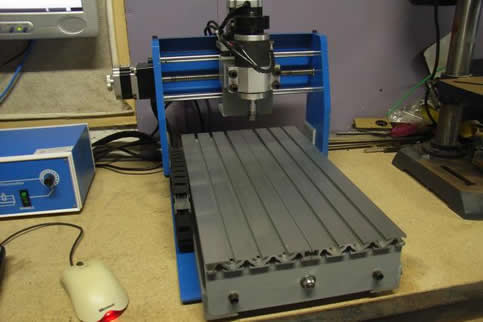
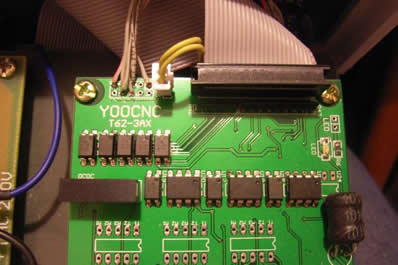
Its commonly referred to as a CNC2050 and is driven by a YooCNCcontroller. The bed is 200mm x 300mm and it has a 50mm clearance. Just right for those small parts I plan to make. It is connected to a PC running ubuntu and EMC2 via the parallel port. I chose EMC2 over many different control software packages available as it is free and has a wealth of support forums.
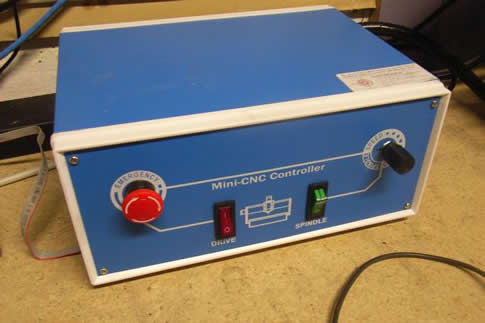
The controller is made by YooCNC and is a complete self contained unit with PSU for the mill and itself built in. It has a variable speed spindle control and an emergency stop button.
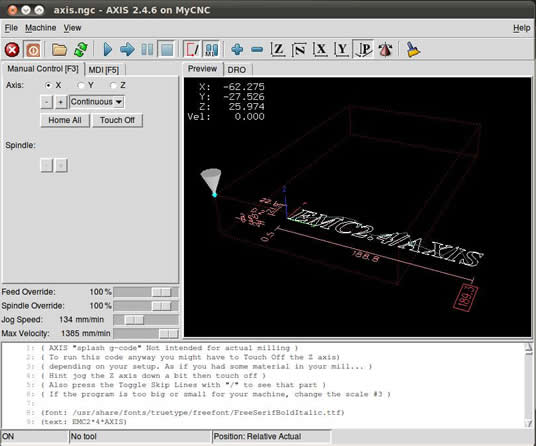
As mentioned it connects to the PC via a parallel or centronics cable. The software controlling it is as mentioned EMC2. This runs under ubuntu and has some nice features. The display of your model is easy to manipulate to see where the tool should be cutting. It shows the outer dimensions of your model and hilights any areas beyond the machining region with a red dimension box as shown in the screenshot below.
Ubuntu and EMC were a breeze to set up using the liveCD image you can download from the EMC2 site. configuration of the EMC software to match my CNC was a little bit more time consuming. You see the CNC didn't come with any instructions or specifications giving details of the stepper motors like how many steps per revolution and details about microstepping. I scoured the web hoping to find a configuration file but nowhere could I find something relating to my machine. In the end I perciveered and configured it from scratch. I have put the config file in the resource section at the end of this page incase someone has the same type of CNC mill as me.
For designing parts I use Google Sketchup, Adobe Illustrator and CamBam. For sketchup I use an export plugin that saves models in STL format. This can be imported to a g-code creator like Pycam (free) or CamBam (not so free but one heck of a program and well worth the $140)
The mill didn't come with any form of homing out of the box other than "Move it 'till it stops and back it off half a turn".
EMC has some very nice homing routines, so I added some gap sensors pinched from an old photocopier.
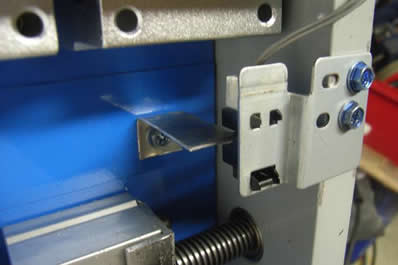 This one is the Y
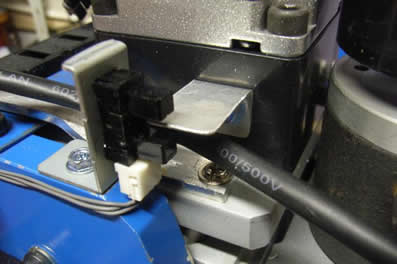 This one the X
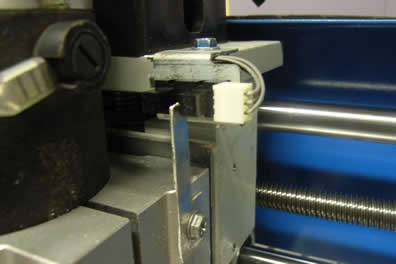 and this the Z
Each output from these sensors is run back to the controller which already had inputs on the board shown here next to the yellow wires, however they weren't connected to the back panel anywhere. So a quick drill and and file to fit a DB-9 connector and bob's yer uncle.